Bridge Site Design using Location Module
Updated September 12, 2017
This article applies to:
- RoadEng Civil
- RoadEng Forestry
It is possible to create a site plan quite quickly by
exporting a Location design into the Terrain module. However, there are some limitations
as illustrated in the example below.
This example can be done using these example files:
Download Bridge Site Files here.
1. Create a location design of the bridge section. (see bridge.dsnx)
- Make sure the abutment elevations are correct
- Choose appropriate grades, and curves
- Assign the Bridge (no cut/fill) template to the bridge station range.

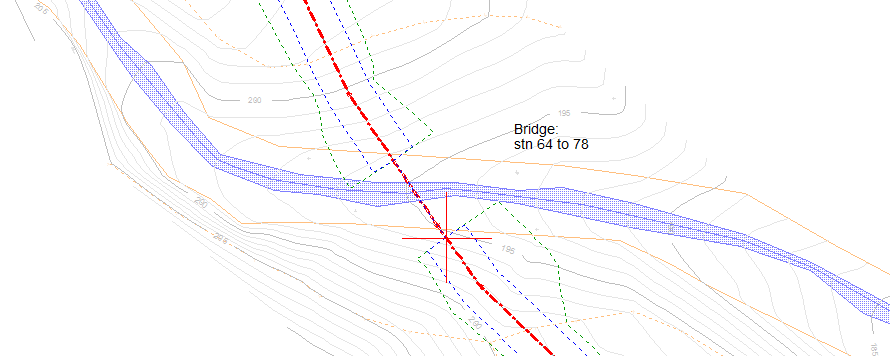
Figure: Location Plan view of bridge site
Note: The bridge abutments will be perpendicular to the road in the Location module.
2. Export the designed surface to the Terrain module.
- Choose File button | Save As
- Select to Save as type as Terrain File (*.terx).
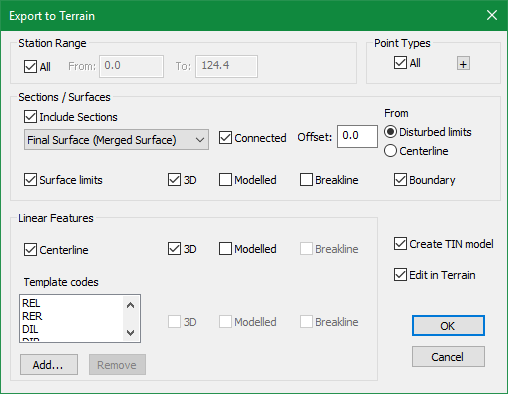
- Press Save, the Export to Terrain options dialog box will appear
- Set up the desired surface and other options.
- OK to create the Terrain file (and open it in the Terrain module if indicated).

3.In the Terrain module:
- a. Open the file created above (if necessary).
- In the Plan window Options, add the original ground Terrain to the Background list.
- Create draped features to represent long section and cross sections.
- Dress it up to look nice.
See example file Site plan from location export.ter.

Figure: Terrain module showing the designed road with the original ground in the background.