Grid Options
Updated July 18, 2024
This article applies to:
- RoadEng Civil
- RoadEng Forestry
Note: This article/tutorial continues from the previous example.
Here we turn on a grid to make it easier to align the Plan and Profile sub-views.
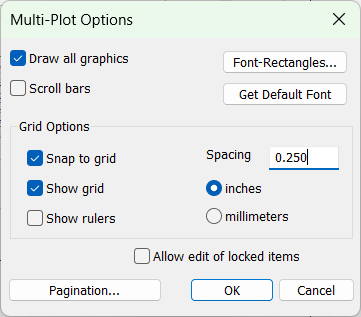
14. Right-click on the screen, select show Grid and Snap to Grid, and set the Spacing at 0.25”, as shown in the figure below:

Figure 1: Multi-Plot Options dialog.
A dot grid will cover the entire Multi-Plot sheet.
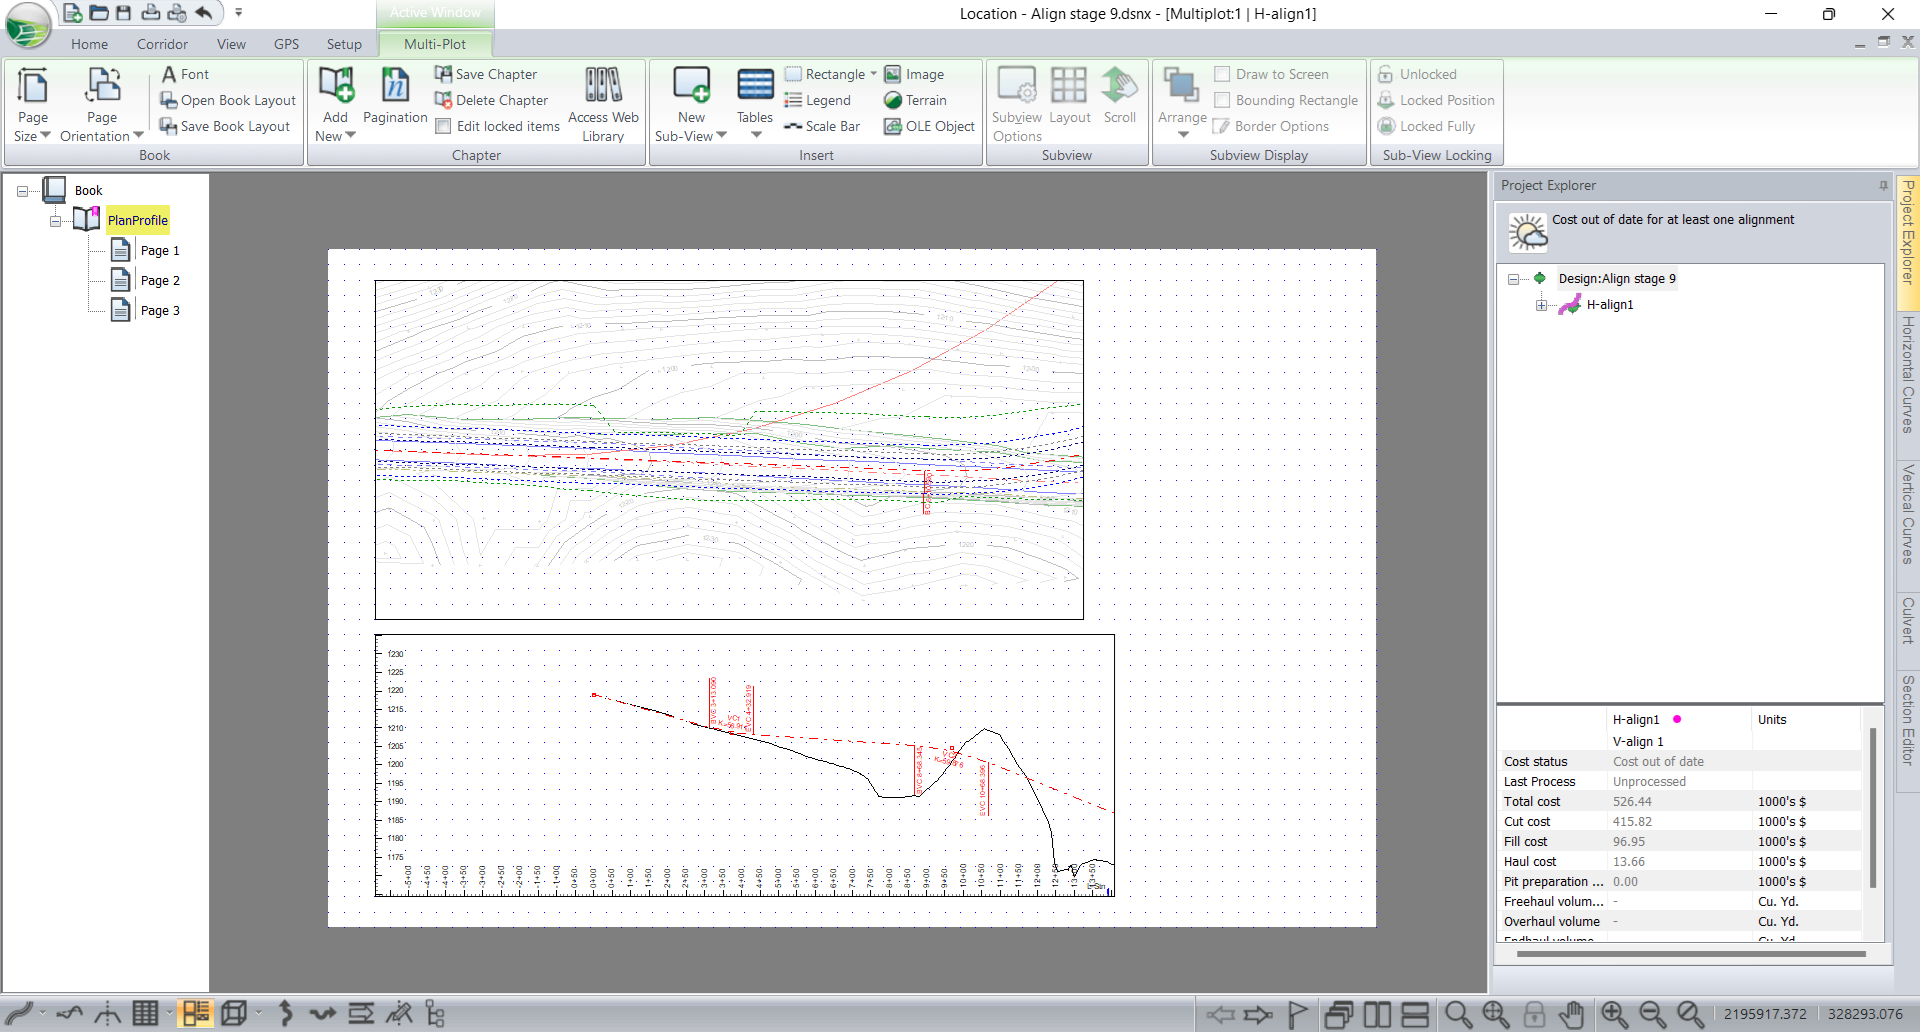
15. Now adjust the size and position of both the Plan and Profile sub-views so they are aligned as in the figure below. Alternatively, you can also use the align tools. With both sub-views selected, Sub-View | Align | Align Left.

Figure 2: Plan-Profile aligned in Multi-Plot.
These two sub-views are now set-up on all 3 pages of our Plan Profile Chapter. But, the scale for our new profile sub-views is not ideal. Let’s adjust so the horizontal scale of the Plan and Profile is the same.
16. <Double-click> on the Profile sub-view. Change the Horizontal Scale to 1: 800. Press OK.
Note 1: If you have two sub-view windows vertically on top of one another, such as a plan view and profile view, to ensure they are in line (starting at the same station) be sure the scale is the same.
Note 2: Sub-view windows can be selected/deselected and deleted. When you click outside all sub-views and drag the mouse you will create a selection rectangle. All sub-views inside the rectangle will be selected when you release the mouse. Also, <Ctrl> click allows you to select/deselect sub-views without affecting the selection state of other sub-views. Group selected sub-views can be deleted or moved together.
Note 3: The same dialogue box can be opened by left <Double-click>ing on the Sub window sub-view.