Making a Map with Multiple Traverses
Updated July 08, 2021
This article applies to:
- Terrain 3D
- Terrain Forestry
- RoadEng Civil
- RoadEng Forestry
This Knowledge Base article is an excerpt from one of our tutorial files. The files referenced in the article, as well as the full tutorial document, are available in our Tutorial Installer.
The next example demonstrates how to display several traverses on the same map and adjust the positions of the traverses with respect to each other.
Note: See Getting Started section for file install folders (<SurveyMap> and <Defaults and Layouts>)
 File | Open <SurveyMap>\Adjust\block1.map.
Maximize the window by clicking the maximize button
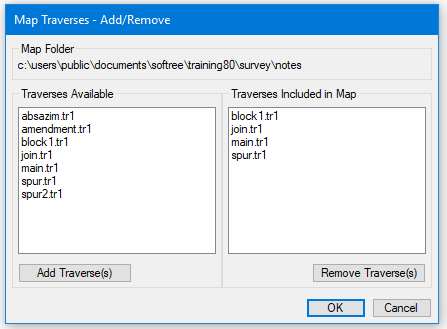
 on the top right of the traverse document window. Map | Add/Remove button, the Map traverses dialogue box, shown in below will appear.

Figure 1: Add/Remove Traverses Dialogue Box
Select spur.tr1 and press the Add Traverse button. spur.tr1 appears in the Traverse included in map list box. Do the same with join.tr1 and main.tr1 Press OK.
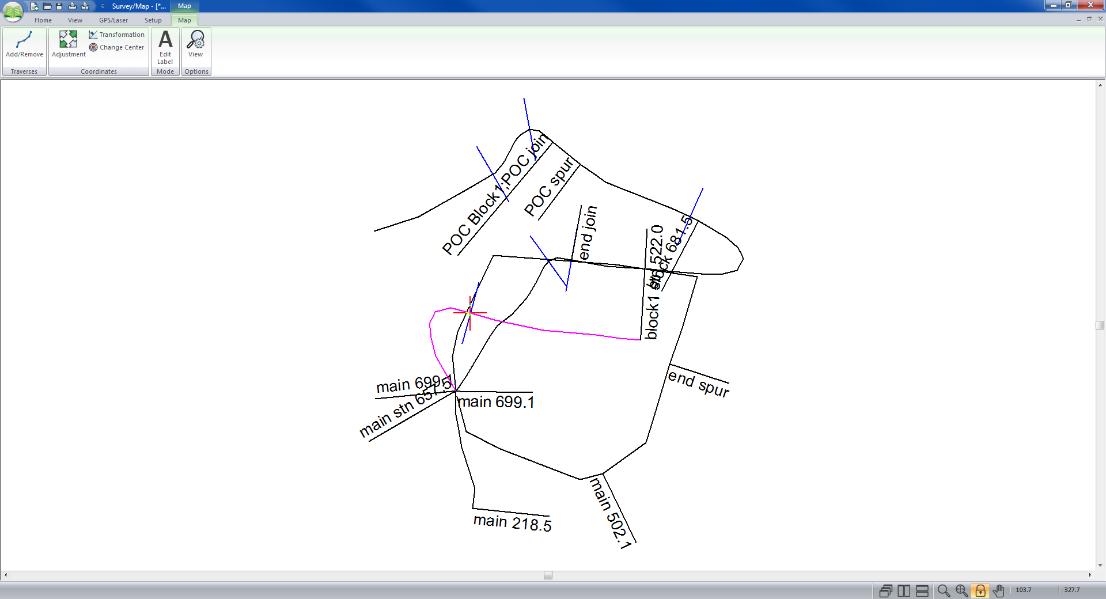
View | Retrieve Screen Layout, select
<Defaults and Layouts>Training\training Adjust\block1.mlt.
Note: The same map can be also be created by selecting menu File | New, choosing Map Document, and then selecting the four traverses block1.tr1, spur.tr1, join.tr1 and main.tr1 with the mouse, while holding the <Control> key.

Figure 2: Map View After Adding Additional Traverses
Double-click on any of the traverses in block1.map and the corresponding traverse notes will open.
Close the Untitled Map window. Do not save changes.