Moving A Network License Manager To Another Server
Updated April 18, 2024
This article applies to:
- Terrain 3D
- Terrain Forestry
- RoadEng Civil
- RoadEng Forestry
- Softree Optimal
On the Current Server
Step 1 - Check Status of the Nodes / Active Licenses
Before starting to move your network license manager, please check to ensure that you do not have any active nodes. To do that:
- Open the current Network License Manger
- Review the status of the connected nodes - we are looking to see all the nodes available
- If there are active nodes, you can determine which computers by viewing the 'Connected Computers' tab and contact the individuals.
- If there are checked out node (offline nodes) - these can remain offline. Advise the individuals with checked out nodes NOT to force a check in. Let them expire on their own. If you need to check a license in before expiry and after migration, please contact Softree.
Step 2 - Return the Current Network License Key
- With the Network License Manager open - select Display License Manager
- Copy your product license code and save into location (ie. email, notepad etc).
- Press RETURN
Repeat Steps 1-2 for all products in the license manager. Once complete, you can now delete and unistall the license manager executable.
On the NEW Server
Step 3 Install the Network Executable
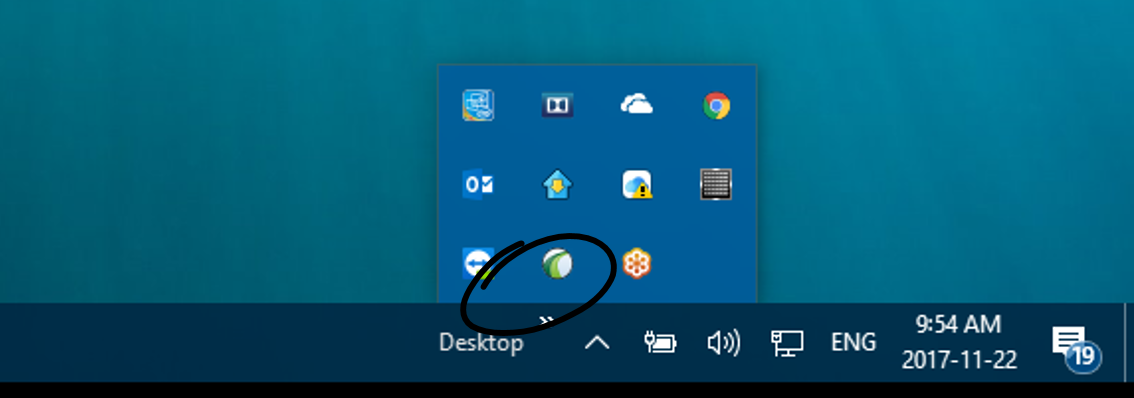
Install the network executable software on the server or computer designated as the server. This installs as a tray executable with a background service process. Once installed, you can locate it in the desktop tray.
NOTE: V11 Network Prequisites:
Softree's V11 Network License Manager requires .NET framework 4.8. Depending on your system configuration, this may already be installed. The installer will automatically determine this and include its installation should it be missing. We recommend confirming that there are no pending updates to .NET for your system, and to reboot if necessary. On occasion, a reboot will be required to install .NET framework 4.8.
Download Link for V11 Network Executable
Step 4 Load the Previous Product Key / Configure the Options
Once installed, the network executable should automatically launch. If you cannot locate it open your desktop tray (or press the shortcut link on your desktop):

- Press the + button to add a product key
- The license manager dialog will be displayed, enter the network license code that you saved from the other server (or refer to your licensing email from Softree)

- Press "ACTIVATE".
- After the activation is complete, you will be shown a summary, press "CONTINUE".
Back in the license manager main area, you can now configure your network license options:
- Set a License Name
- Set a Port Code - the default is 8080, but you can configure this manually if that port is already in use by another software or device.
- Configure Check out length - adjust the slider to limit the length of time one of the users can take the software offline (1-30 days).
- Press "SAVE".

Step 5 Configure your Firewall (Optional)
If you have a firewall you need to either open the port you choose or add Softree License Server to the list of exceptions.
-
To create a firewall rule based on the software:
- On the Start menu, click Run, type WF.msc, and then click OK.
- Select Inbound Rules, then Click New Rule...
- Ensure "Program" is selected and click Next.
- Ensure "This program path:" is selected and then click Browse. Navigate to the folder you installed Softree License Manager to (default folder is: C:\Program Files (x86)\Softree\License Manager Server). Select SoftreeNetworkService.exe and then click Next.
- Ensure Allow the connection is selected and then click Next.
- Select the Profiles you want the License Manager to be accessible from and then Click Next.
- Enter a Name and Description(optional) and then click Finish.
- To create a Firewall rule based on only the port:
- Repeat steps 1 - 2 above.
- Select TCP and then under Specific local ports: enter the port you entered above (default is 8080).
- Repeat steps 5-7 above.
NOTE: For organizations with enhanced server security, we are happy to provide our static IP and port information.
Step 6 Re-Connect the end-user software / PC's to the Network Security option.
- On end-user PCs, run any module of the software. The License Manager dialogue will automatically pop-up because the previous network license connection has been lost.
- Select "NETWORK SITE LICENSE"
NOTE: the end-user computer must be online and able to connect to the server computer at time of configuration.
To add a server license:
In smaller network situations, the "Scan" function works really well. In larger network situations - we recommend manually configuring the license, by pressing "ADD".
- Scanning for a Network License:
- Press "Scan"
- the software will start scanning the network for available licenses.
- Once a license(s) are located, the details will be displayed in the scan.
- Press CANCEL to stop scanning and view the found licenses.
- Manually Configuring a Network License:
- Press "ADD"
- Enter the server name or IP address. (Note: the IP address is displayed in the top right corner of the license manager)
- Enter the port # as configured in the license manager.
- Press "VERIFY and ADD"

NOTE: If the server has a fluctuating IP address, we recommend adding by Name vs IP.
- Select the desired available license:
- Select the desired Available License (if more than one) and press Connect.
