Back to Terrain Module
Step 4 - Export Your Tree Features
Updated April 16, 2026
This article applies to:
- Terrain Forestry
- RoadEng Forestry
Regardless of workflow (A or B) exporting the tree features to shapefile is the same process. Using Workflow A files for screenshots,
- Right-click in the plan window → Select Feature by Layer → choose Tree Features. Press OK.
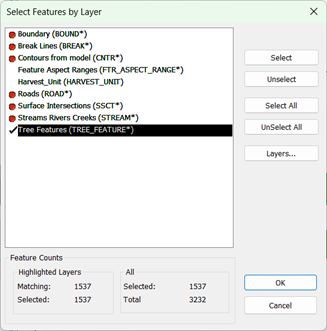
Figure 34 - Selecting Tree Features
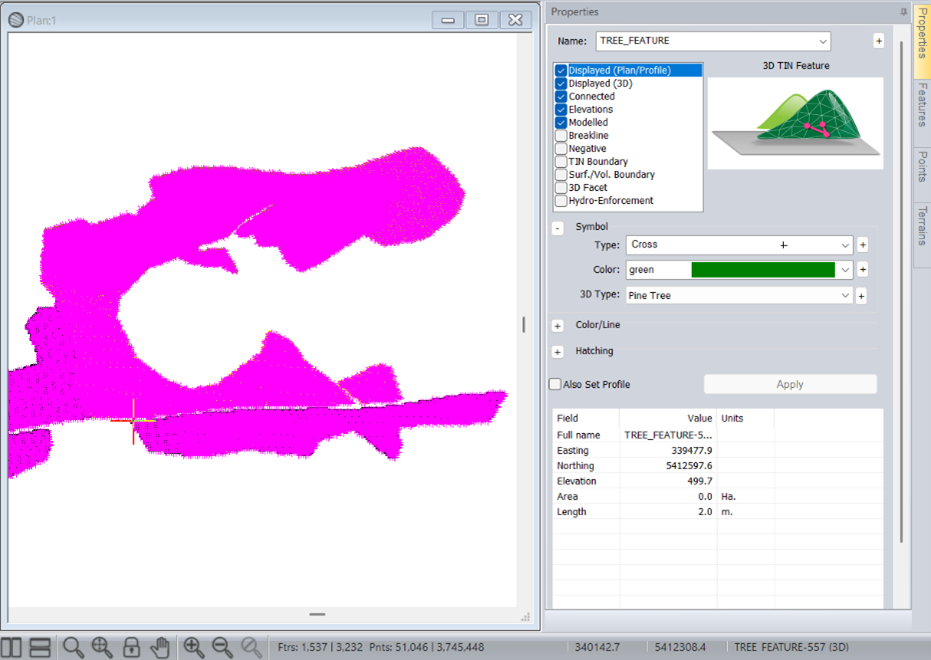
- In the status bar, you can confirm your selection & total number of trees included in the plan (e.g., 51,046 trees placed):
![]()
Figure 35 - Tree Feature Count is Represented by # of Points (when selected)
- To export, File → Save As → choose ArcView Shapefile from the drop-down menu of filetypes:
- Check: Selected Features Only.
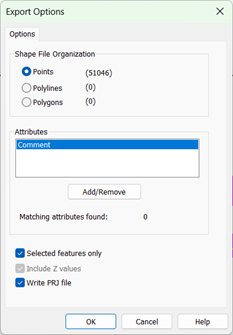
Figure 36 - Export to Shape File Options - Points
- Save and use in your GIS workflow.
Note: To export the features as polylines, you can follow the workflow shown below:
- After selecting the Tree Features, enable Connected and Elevations in the Properties panel and press Apply.
Figure 37 – Enabling Connected Property.
- To export, File → Save As → choose ArcView Shapefile from the drop-down menu of filetypes:
- Select: Polylines
- Check: Selected Features Only.
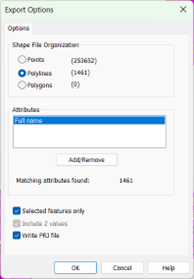
Figure 38 - Export to Shape File Options – Polylines.
- Save and use in your GIS workflow.
For support or questions, contact: support.team@softree.com