Back to Survey Map Module
Creating a Traverse
Updated July 23, 2019
This article applies to:
- Terrain Forestry
- RoadEng Forestry
Creating a Traverse
1. From the Traverse List Screen, Press “New Traverse”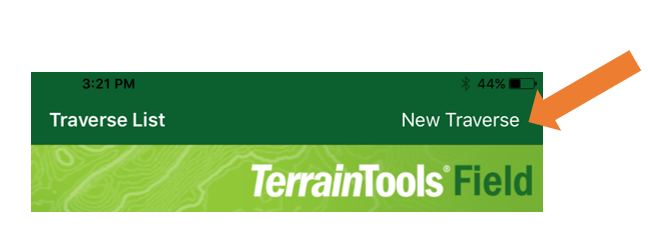
2. Enter your Traverse basic details, including:
- Name (mandatory field)
- Description (optional field --- this does NOT import into RoadEng currently)
- Crew (optional field --- this does NOT import into RoadEng currently)
- Date Created (optional field --- this does NOT import into RoadEng currently)
3. You can enter your traverse Start Station and Index number – you can also leave these as their defaults:
- Start Index : 1, Start Station: 0
4. Once complete on this screen, Press the CREATE TRAVERSE BUTTON to finish creating your Traverse. This will take you into your first shot data entry screen.

NOTE: On Order of Entry
- There are three tabs for entering data:

- You are taken to the C/L Station & Shot tab after creating your traverse. Here you can enter your Stn 0 ground data & move tothe C/L Coordinates tab and Side Shot tab before recording your shot data.
What this looks like in Tab & Table View:
